Photoshop - Clip an image to a shape
 For scrapbook projects, photo crafting and other creative uses you can achieve a cool effect for your photos by clipping your favorite images into shapes. Here's how to do it:
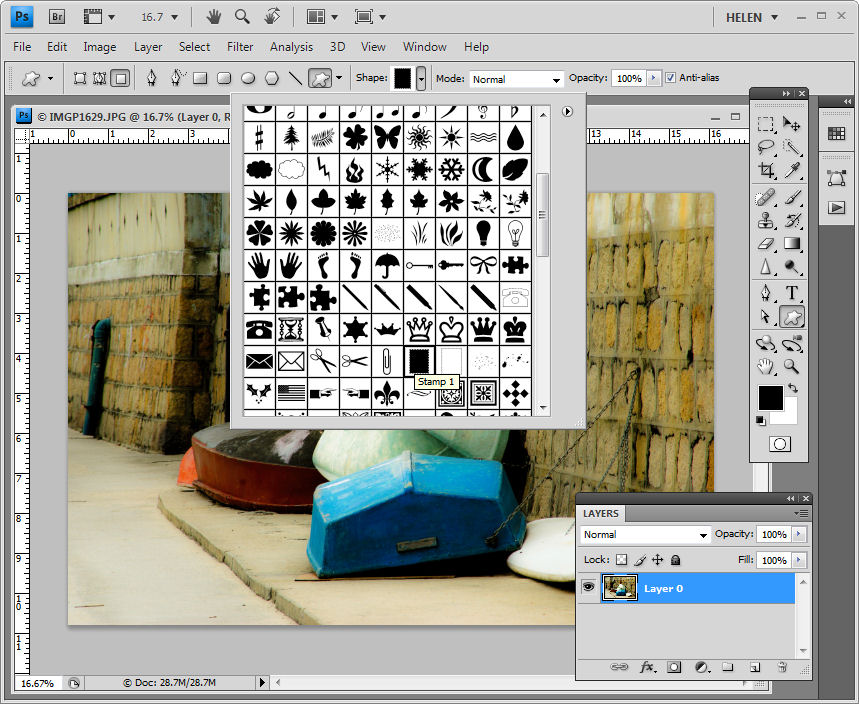 Step 1
Open an image and make the background layer a regular layer by double clicking it in the Layer palette and click Ok.
From the Photoshop’s Custom Shapes collection, select a shape and set the Shape tool to Fill Pixels in the Tool Options palette - ignore the color that you have selected for now. 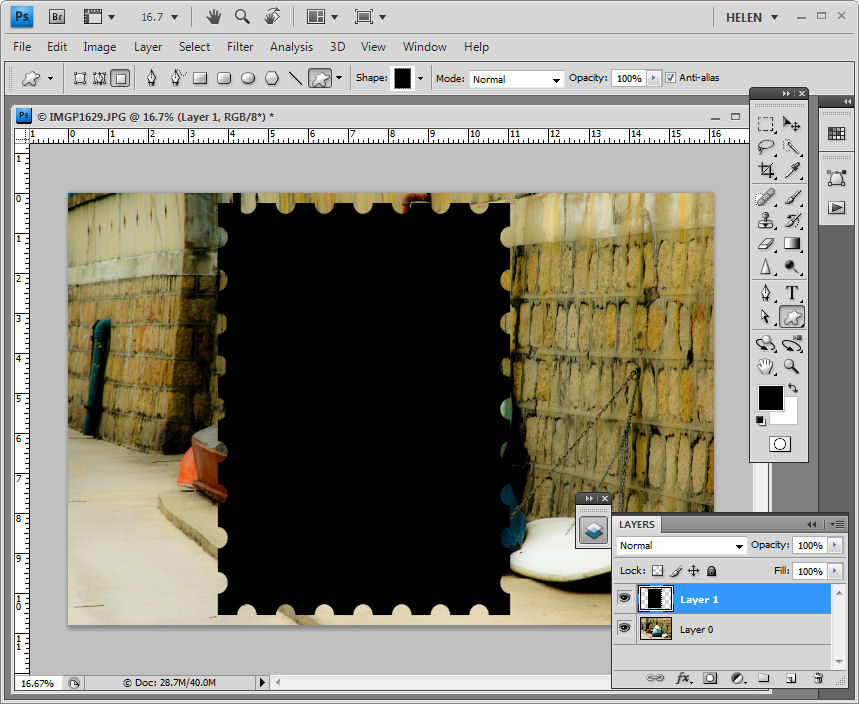 Step 2
Add a new layer to the image by choosing Layer > New > Layer and drag to create the shape on that layer. Use the Move tool to rotate the shape, size and move it. 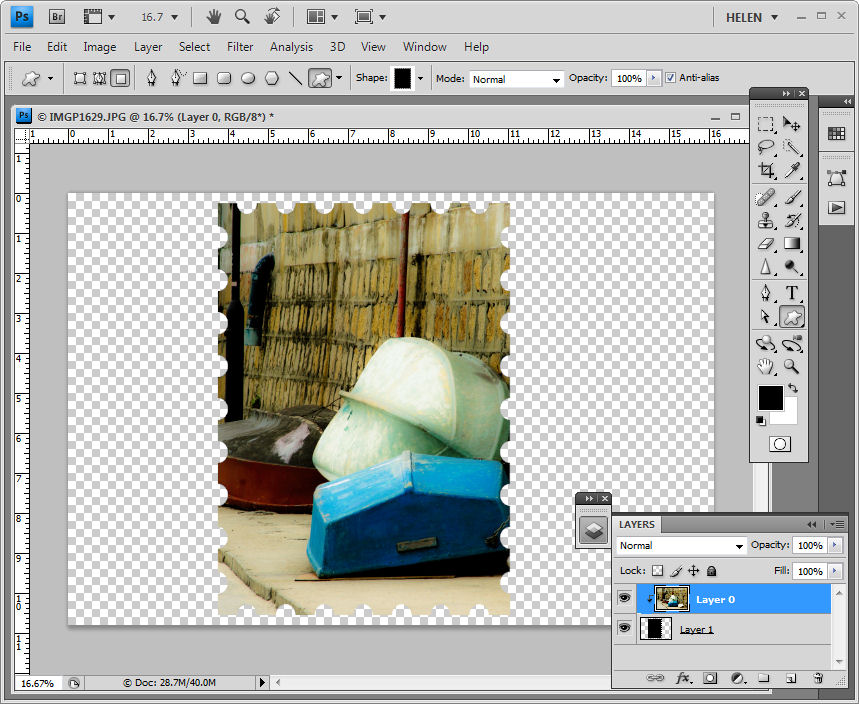 Step 3
Drag the background layer above the shape layer. Select the top layer and choose Layer > Create Clipping Mask to mask the image to the shape. 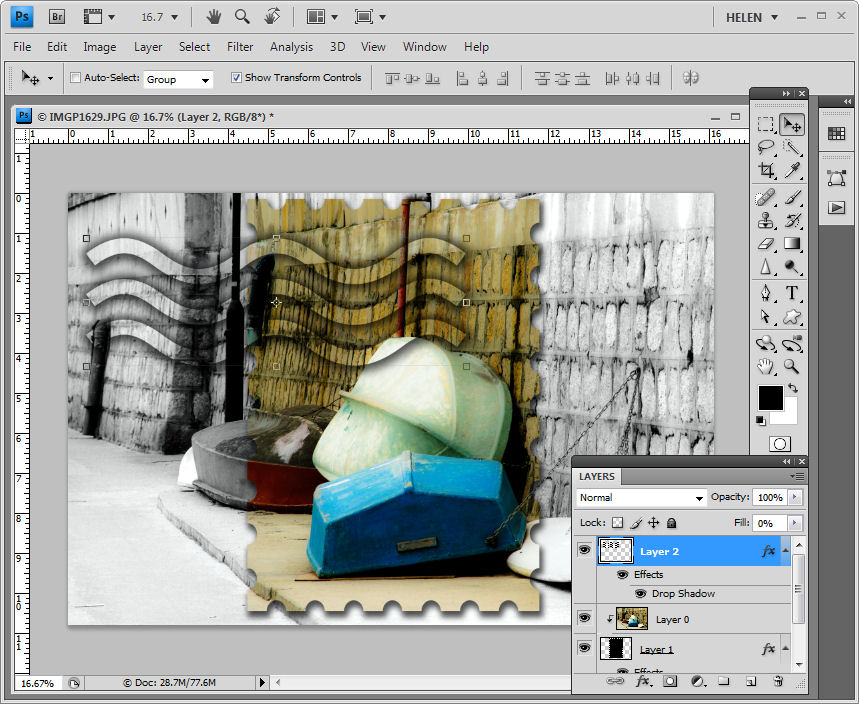 Step 4
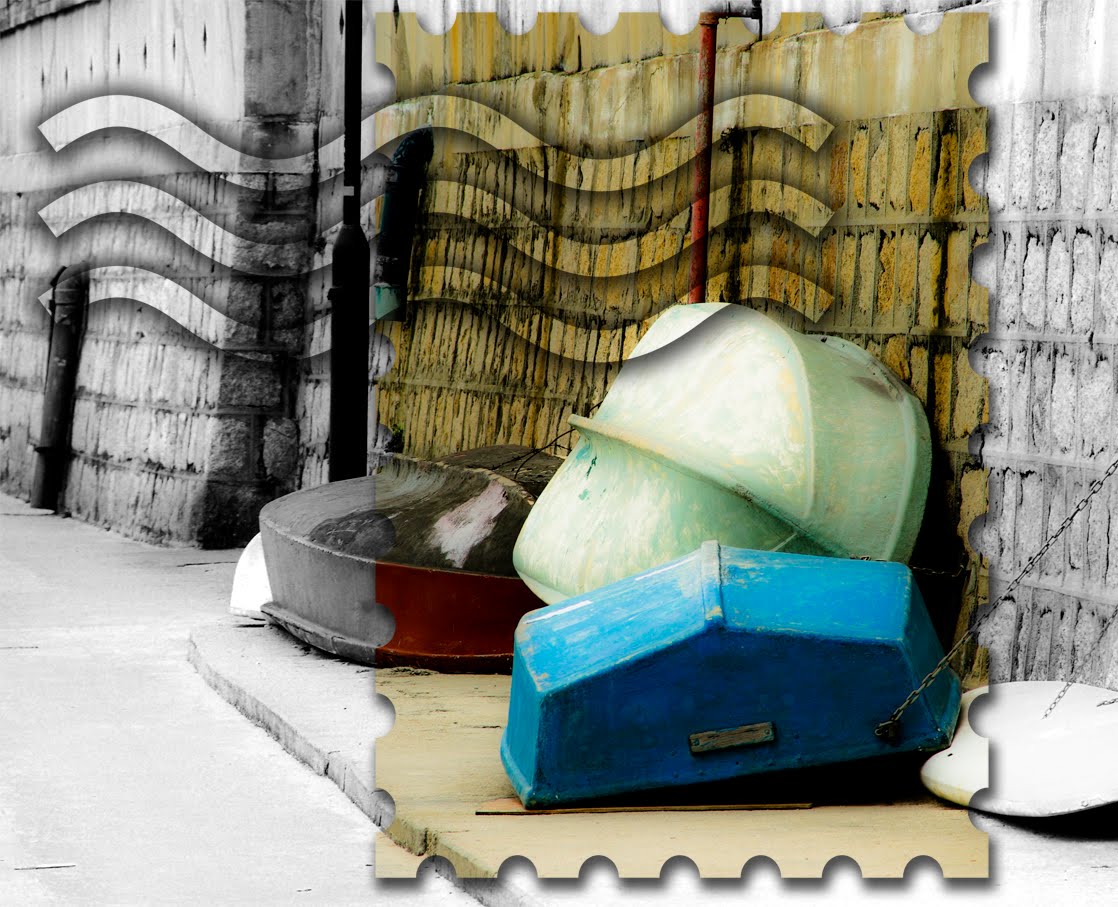
Add a drop shadow or other effect to the shape layer to set it aside from the background. You can also add a new background layer and fill it with a color or texture to show off the image.
If you drag the shape into a different position in the image using the Move tool or scale it, you will reveal more or less of the top image.
posted by Jane @ 1:24 PM
![]()
![]()

1 Comments:
I tried this but I think I am doing something wrong because the custom shape fills the outlines but not the selected portion like yours. I proceeded to the next step even then and found that I am not able to move the shape in the new layer.
Can you help me find out where I am wrong?
I do not know much of photoshop.
Thanks,
Harini
Post a Comment
Subscribe to Post Comments [Atom]
<< Home