10 Photoshop interface features you didn't know existed
Here it is, short and sweet. 10 techniques for working in Photoshop that you may not know existed: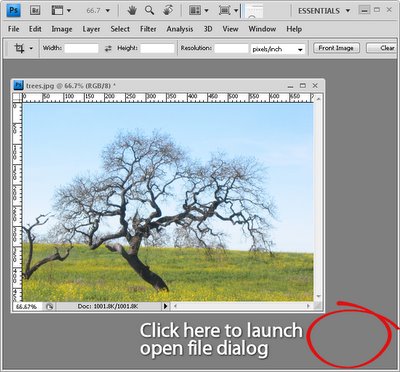
1 Open a file without using the menus
Simple. Double click the grey background area of the Photoshop window and the File Open dialog appears - magic!
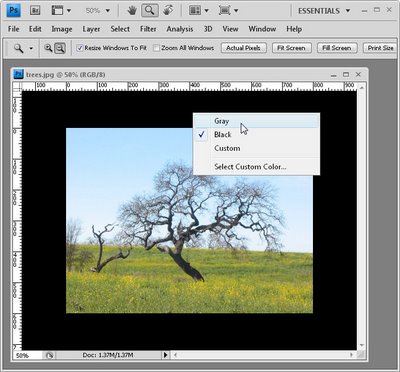
2 If grey is dull, black is wonderful and any color is better!
To change the grey inside an image window from grey to black (or a color of your choice), Control + Right Click (Command + Right Click on the Mac) on the area surrounding the image and select a color.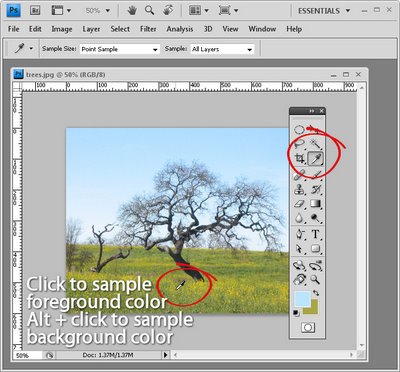
3 Sample foreground and background colors
Instead of clicking on the foreground or background swatch to change the color to one sampled from the image, click the Eyedropper tool and click to sample a foreground color - hold Alt (Option on the Mac) to sample a new background color.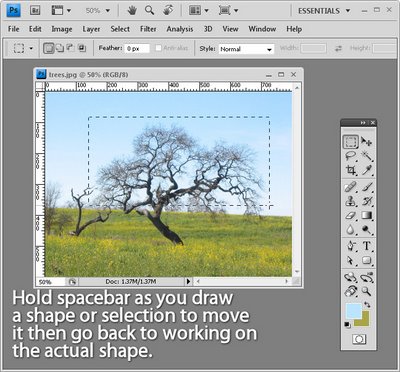
4 Position a shape or selection
When you’re drawing a shape or selection and the shape is fine but the position is wrong, keep hold of the mouse button and hold the spacebar as you move the shape or selection into the desired position. Let go the spacebar and continue to make your shape.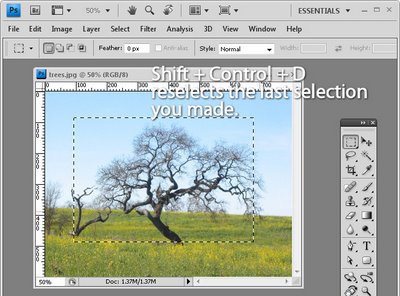
5 Get a selection back
If you’ve lost your selection, press Ctrl + Shift + D (Command + Shift + D on the Mac) to get it back. Ctrl + D (Command + D on the Mac) deselects the selection.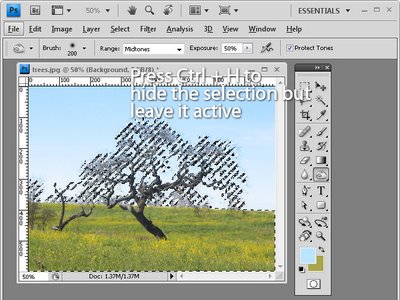
6 Hide and keep
If the selection marquee is getting in your way, Ctrl + H (Command + H on the Mac) will hide the selection but still leave it in place. Don’t forget to turn it back on or you might wonder why things aren't working the way you expect them to work.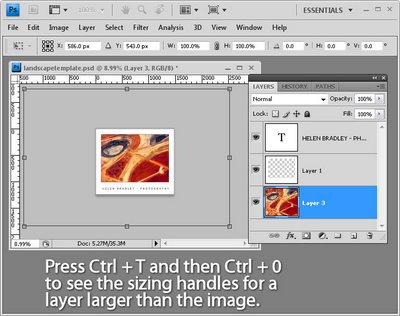
7 See what you're working on
This is my all time biggest time saver! When you drag a large layer from one document to another you can view the entire layer and its sizing handles by Ctrl + Click (Command + Click on the Mac) on the layer thumbnail to select it. Then press Ctrl + T (Command + T on the Mac) to view the transform handles and Ctrl + 0 (zero) (or Command + 0 on the Mac) to shrink the image so the sizing handles are all visible.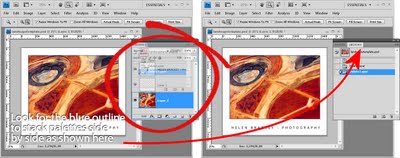
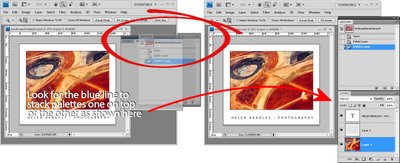
8 Stack or line up palettes
To stack palettes side by side in the same dialog, drag one palette over the others until a blue line appears around it and let go. To stack palettes one on top of the other down the screen, drag and drop one palette onto the bar just above another palette’s name.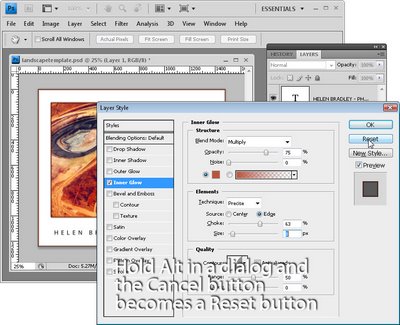
9 No dialog Reset button? Yes there is!
You can reset most Photoshop dialogs to their original settings or at least some version of the original settings by holding the Alt key (Option on the Mac) when inside the dialog - when you do this, the Cancel button turns into a Reset button.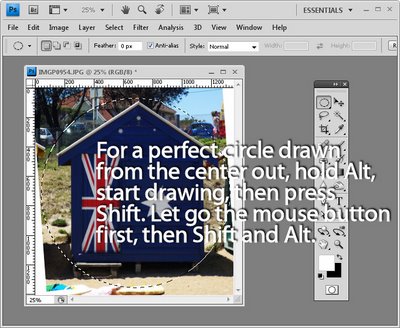
10 May all your ellipses turn into circles
To draw a circle using the Elliptical marquee or a circle shape, hold the Shift key once you’ve started drawing and the ellipse will become a circle. To draw from the center out, hold the Alt key (Option on the Mac) as you start drawing an ellipse, then add the Shift key to make it a circle - keep holding both keys until you let go the right mouse button.
Labels: 10 photoshop interface features

6 Comments:
Hello Helen,
I found you on Linkedin and followed you here.
Your tutorials are fabulous!
~ Gabriela ~
These are such great tips! I tried them in PhotoShop Elements, and all worked except for #8. I can't wait to try these shortcuts the next time I'm working in PSE!
I was referred by Lifehacker.com.au & I agree they are great... Thanks!
The same advice for tip 10 can be applied to rectangles and rectangular marquees to turn them into squares and draw them from the center outwards.
thought most of those were basic things that most people who have used PS for even a little while would know.
thanks alot, a great help, cheers
Post a Comment
Subscribe to Post Comments [Atom]
<< Home