Photoshop: Creating Cool Duotones

A duotone is an image made up of just two colors. It’s often used in the printing world where a photograph is included in a publication and where the publisher wants to use some color on the page but not pay for full color printing. As a duotone, the image is created as a mix of two colors - hence its name duotone. Typically the colors are black and a spot color but they can be any two colors.
You can convert a photo to a duotone in Photoshop using its Duotone feature and you can customize the duotone and determine just how much of each color is applied to the image.
Here's how to convert your photo into a duotone in Photoshop.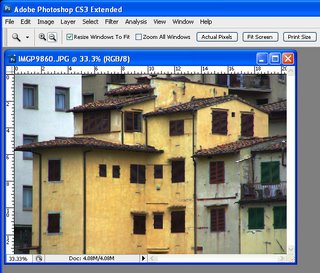
Step 1
Open your photo in Photoshop and apply any desired adjustments to it – concentrate more on developing pleasing contrast in the image than on the colors because in the next step you will be removing the color. 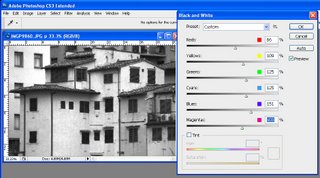
Step 2
Create a black and white version of the image. Typically this is done by selecting Image > Mode > Grayscale. The problem with this conversion method is that you don't get the chance to determine how the image is converted and it is often a lackluster result. You can do better by converting the image yourself.
I recommend using a specialist black and white conversion tool – in Photoshop CS2 you can use the Channel Mixer and in Photoshop CS3, choose the Black & White tool. To do this, choose Image > Adjustments > Black & White and drag the sliders to create your custom black and white image. Then choose Image > Mode > Grayscale and click Discard to discard the color. 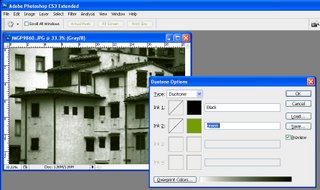
Step 3
Choose Image > Mode > Duotone to display the Duotone Options dialog. From the Type list select Duotone. The first Ink color defaults to Black and you can now add a second ink color by clicking in the swatch box.
Because duotones are typically used in commercial printing, you are offered a choice of colors from a Pantone color swatch. If you aren't printing commercially and if you prefer to use the color picker, click the Picker button and select a color this way – type a name for it in the text area. 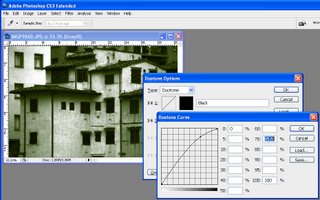
Step 4
Click the curve icon to the left of each of the color in turn to adjust how the color is applied to the image. The highlights are on the right of the chart and the shadows on the left. Drag upwards on the curve to apply more color in that area of the image, or drag down to apply less color. This feature lets you add more of your second ink color, for example, to the highlights. 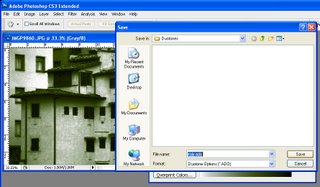
Step 5
You can save the Duotone settings by clicking the Save button and type a name for it. Later you can load those colors and the curve into the dialog to use for another image. When you are done, choose Image > Mode > RGB Color to convert back to color mode so you can continue to work on the image or to save it.
The Duotone on the right was created from an image converted to a monochrome image using Image > Mode > Grayscale. The one on the left uses a custom Black and White conversion first – notice the differences in how the duotone colors are applied.

0 Comments:
Post a Comment
Subscribe to Post Comments [Atom]
<< Home