Straightening images with Photoshop's Lens correction tool
Let's be honest, Photoshop's tool for straightening an image sucks - well it would if it really were a tool - it's not even that. It's a cumbersome workaround.
Start with the Ruler tool (if you can find it - it's stuck away under the Eyedropper) then 'measure' along the line you want to be horizontal. Then choose Image > Rotate Canvas > Arbitrary and accept the value for the angle - that's what you used the Ruler tool to measure. Wow, that's sophisticated - NOT! And it gets worse. While now have a 'straight' image, the edges look horrible. Grab the Crop tool and crop the image to remove the messy edges.
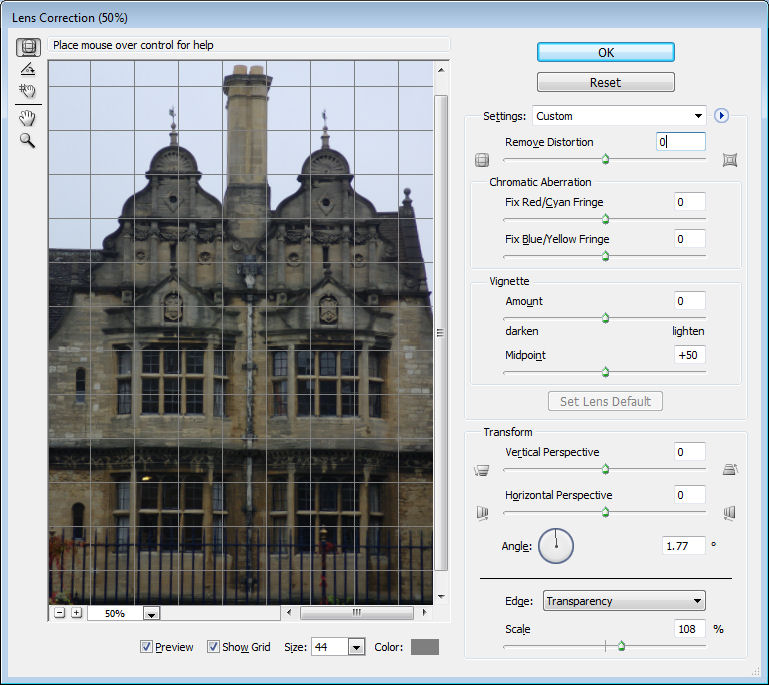
So, while there isn't a tool, there is a slightly smarter workaround. Choose Filter > Distort > Lens Correction - ok, I promised it would be smarter - I didn't say it would be any easier to remember where to find it.
In the Lens Correction dialog, drag on the Angle to straighten the image - best thing about this is that you get a grid to guide you. Then, drag the Scale slider upwards until the rough edges disappear. Then click Ok and you're done.
So, there you have it, a one stop straightening tool - still sucks compared with programs like Paintshop Pro and Photoshop Elements which will straighten and crop in one step but it does it in one menu rather than 3 tools - I call it an improvement - just!
Labels: Lens correction, Photoshop, ruler., straighten
posted by Jane @ 8:43 PM
![]()
![]()

0 Comments:
Post a Comment
Subscribe to Post Comments [Atom]
<< Home