Articles | Photography Blog | Office Tips Blog | about me | e-mail

Helen Bradley - Photoshop and Lightroom tips and techniques

Thursday, March 27, 2008

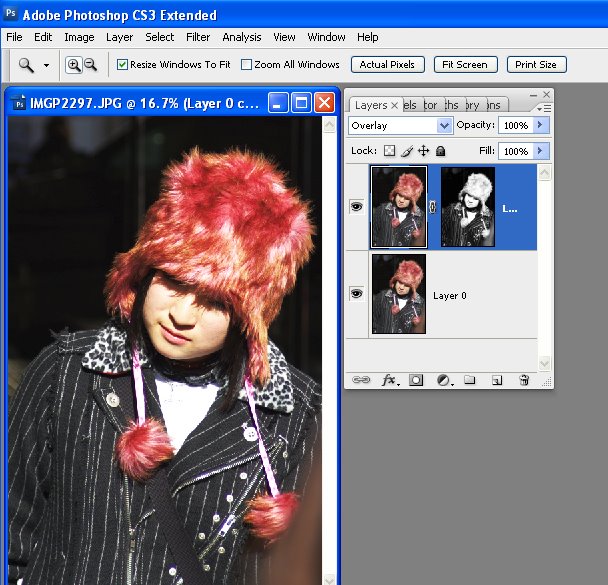
Photoshop on the web - Yes, you heard right!


Ok, so it's not the entire Photoshop program but it is edit to go Photoshop style and you can find it here - it's called Photoshop Express and it's the Beta release we've all been waiting for.

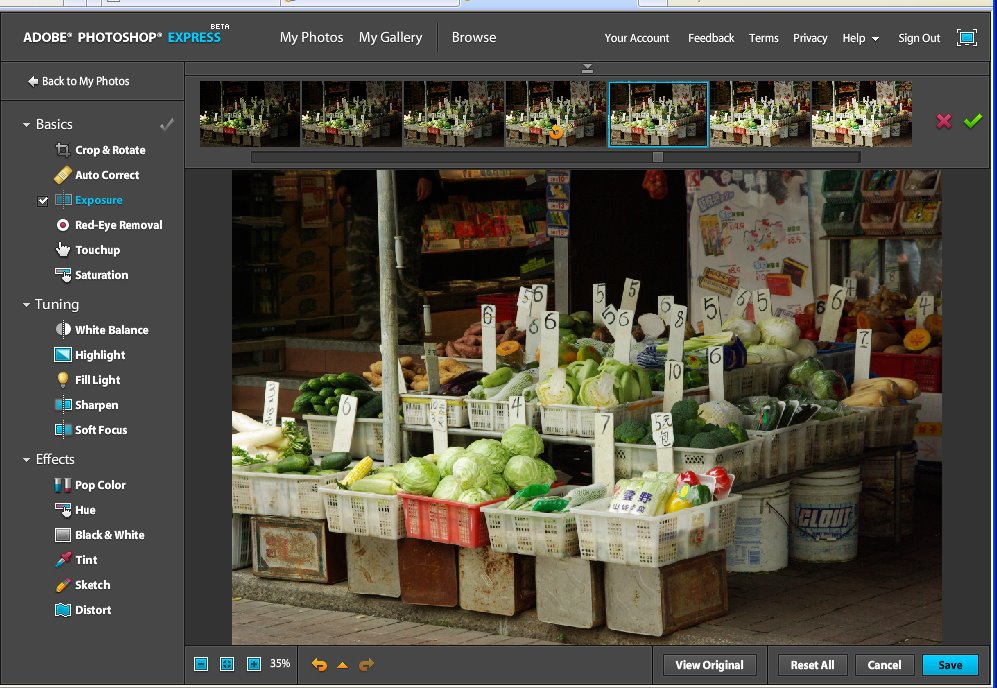
You register on the site then wait to get your email confirmed. Then login and upload your photos. There are heaps of great tools for adjusting your images. Of course, no layers or adjustment layers or any of the advanced stuff and you can whistle "Dixie" if you dream in LAB. However, these limitations aside there are plenty of good tools to use. These include Crop & Rotate, AutoCorrect as well as Fill Light, Sharpening and Soft Focus and even fun effects like Distort, Tint and Sketch.

The interface is dead easy to use - most options involve pointing and clicking at a display showing the effect applied at different levels, just like a linear version of the Photoshop Variations tool.

It's well worth checking out and seeing that it's so new, you get to snag a good URL for your gallery. But forget getting http://helenbradley.photoshop.com since I just grabbed that!

Labels: , ,

Thursday, March 20, 2008

Fixing with Luminosity masks


Luminosity (Luminance) masks are an interesting tool. Consider the situation where you need to apply a fix to an image but the lighter portions of the image are ok, it's the darks that aren't - or vice versa.

Start by duplicating the image layer and apply the fix to the top layer. Concentrate on the portion of the image that needs fixing, ignore the disaster that's happening in the areas that don't need fixing.

When you have the fix in place, it's time for the fun stuff. Locate a channel which has the detail you want for your mask. You need a channel that is dark where you want the fix to be less and light where you want it more (or vice versa, as you can invert the mask). When you have your channel, Control + Click on the channel (Command + Click on the Mac) to load it as a mask. Now go back to the image and add a mask to the layer - it is automatically created as a luminosity mask based on the channel you used. So, your new mask is white where the channel is light and dark where the channel is dark. Of course, if you need it in reverse, add your mask, select it and press Control + I to invert it. Where the mask is lighter, the fix is more strongly applied and where the mask is darker, the fix is least strongly applied.

In the image above, shot in Harajuku, Tokyo on New Year's Day, I've used a Luminosity mask based on the image's own red channel to add some extra contrast and colour to the wonderful hat. I duplicated the image layer and applied a simple Overlay blend mode to that layer. Then I added the Luminosity mask to force the fix into the areas lightest in the red channel - ie where the reds in the image are located and less so in areas which weren't red. (If this sounds wrong to you, remember that in RGB mode, the red channel is lightest where red is located and darker where it isn't, ditto the green channel - it's lighter where the green is and darker where it isn't, etc..)

There's also a handy shortcut you can use to make your masks if you know which channel to use. Use Control + Alt + 1 for the Red channel in a RGB image, Control + Alt + 2 for the Green and Control + Alt + 3 for the Blue. In LAB, the same shortcuts will get you the L, a and b channels respectively.

Labels: , ,