Soft Focus Portrait in Photoshop
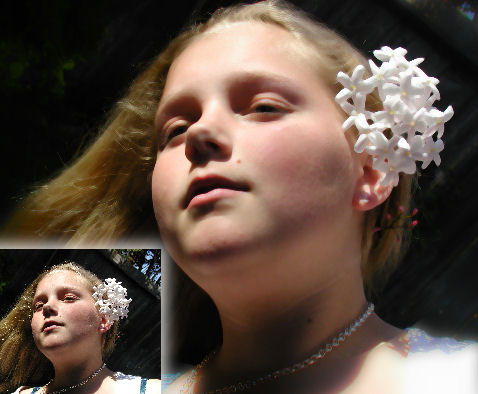
Portraits typically look much more flattering when they have a soft focus look. This is a fix that will give even a so-so portrait a lift. The colors in the image will be more muted and softer and more flattering to the subject. And, when you're done, crop the final result very tightly to get that professional look.
Start by duplicating the background layer on the photo – choose Window, Layers to view the Layers palette, right click the background layer and choose Duplicate Layer and then Ok. Click the top layer and choose Filter, Noise, Median to smooth the image on this layer – choose a value of around 5 for the radius. Now apply a slight aging effect to this top layer by choosing Image, Adjustments, Hue/Saturation and reduce the saturation and use the Hue slider to create a slightly aged yellowing of this layer I set Saturation to -50 and Hue to -10 and click OK. Now experiment with the layer opacity of this top layer to vary the result – you want something softer than the original.
To finish, make a elliptical selection around the subject, invert the selection using Select, Inverse and add a feather using Select, Feather and add a large feather to the selection. Blur the result to soften the area around the subject and then crop the photo to size to finish.
Labels: Hue/Saturation, Photoshop, Portrait, Soft Focus look
posted by Jane @ 9:39 AM
0 Comments
![]()
![]()

